

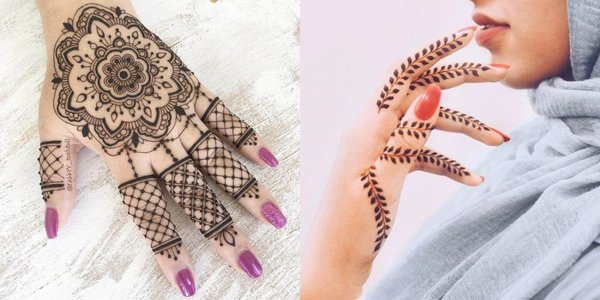
Mehndi is a traditional Indian art form that involves applying henna paste to the hands and feet. It is traditionally done during special occasions like weddings, or with religious significance in temples and mosques. Mehndi also refers to an Arabic word meaning “to decorate.” Mehndi is a form of temporary body art using natural dyes (henna, indigo, etc.) that are applied to the skin for cultural and religious purposes. These Simple Mehndi Design are perfect for any occasion- including weddings!
Below we have listed our five simple mehndi design that will show you how easy it can be to create your own unique design. With these instructions, you’ll be able to apply these designs on your own in no time at all. So let’s get started!
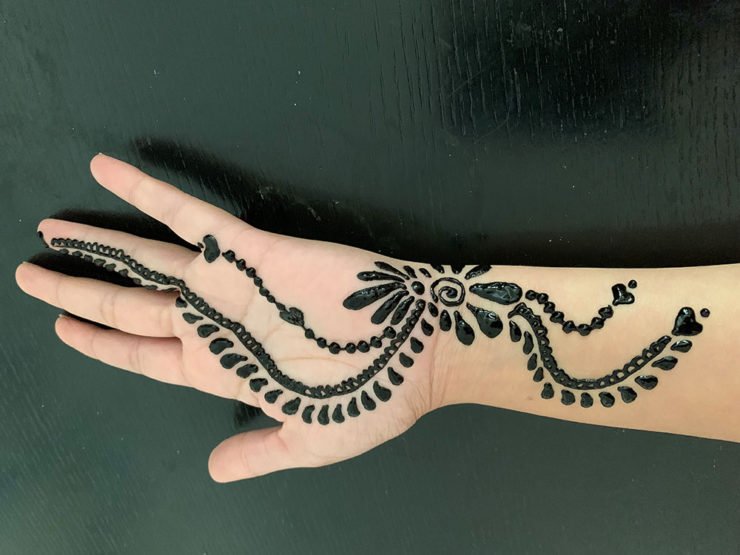
- Boho design with dots
- Geometric design
- A custom dragon design
- Flower pattern
- Starry night sky.
Getting started with your first design
#1- Boho design with dots
For this pattern, you will need to apply the henna onto the skin using the applicator or a cotton ball. Once you have done that, you can then create the designs with a plastic spoon. Draw the lines of the dots at an angle.
#2- Geometric design
This design is perfect for those who are looking for something simple and easy to replicate. To start, make triangles on your palm with two lines coming from it. Then make triangles on your fingers by repeating step one. Apply more mehndi around them to achieve a cleaner look.
#3- A custom dragon design
For this pattern, you will need to draw out a dragon on your hand using henna paste first. Once done, fill in the spaces with light color dye until it looks like scales or leaves.”


Getting your hands and feet ready for Simple Mehndi Design
The first step is to prepare your skin. Soak your hands and feet in a bowl of warm water for 10 minutes, then pat dry with a towel.
Once your skin is dried off, you’ll want to use a mehndi applicator bottle to apply a layer of henna paste onto your skin. You’ll need to apply enough to coat the entire surface area of the design you’re going for.
Then, you’ll want to wait about 15 minutes before applying another layer on top, drying off with a towel between each layer.
Next, after waiting 20 minutes or so, cover your design with plastic wrap and leave it on overnight. In the morning, remove the plastic wrap and wash off the henna paste (or let it wear off naturally). You can also reapply any designs you’d like throughout the day if desired!
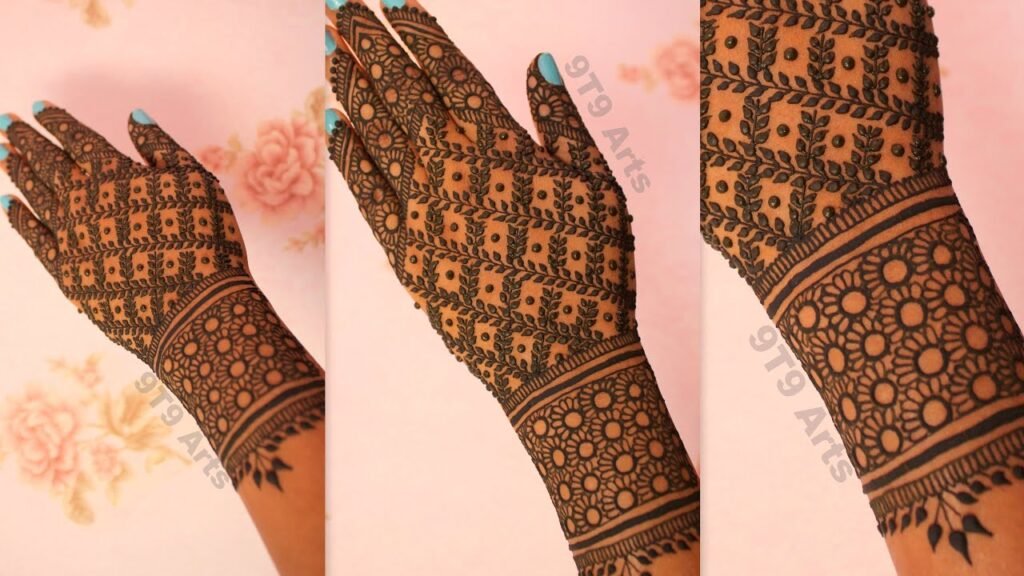
Deciding on the Simple Mehndi Design
The first step is to decide on the design you want. The easiest way to do this is to think about what you are doing in the next few weeks. If it’s a summer wedding, for example, you could go with one of our flowers or starry night sky designs. If it’s winter, maybe try out one of the geometric designs or a custom dragon.
You can also use these designs as inspiration and create your own design! Let your creativity flow and pick whichever pattern speaks to you!
Boho design with dots

1. Begin by drawing a dot on the palm of your hand.
2. Then, draw another in the opposite direction in an arch shape to create a pattern. Continue this pattern until you reach the edge of your hand.
3. Draw dots on your fingers, starting with the pinkie finger and working up to the thumb in arches across each finger’s pad.
4. Once you have dotted all of your digits, draw two lines back to back on each side of your palm for a clean finish!
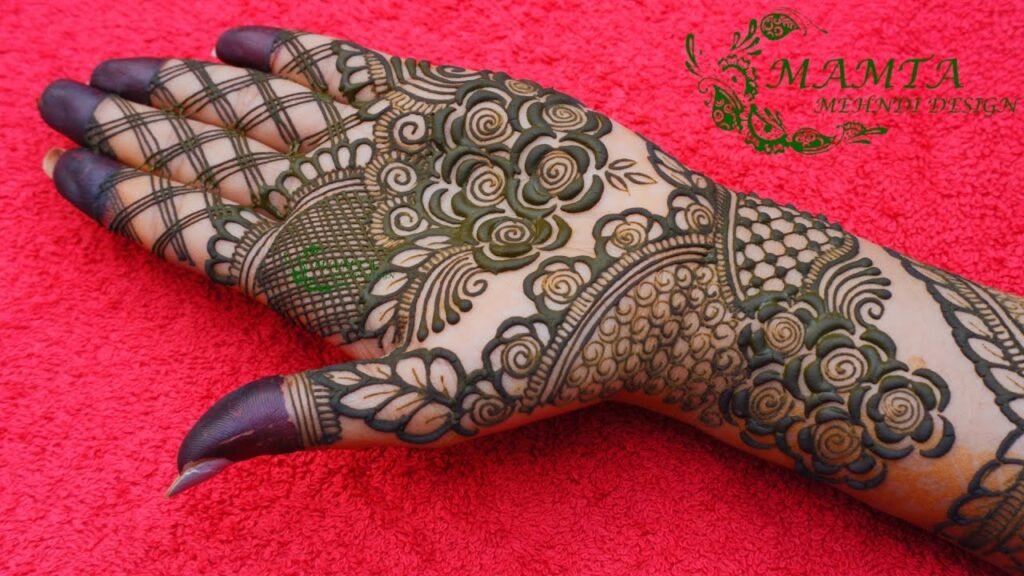
Geometric design

With this design, you’ll use any variety of shapes and repeated patterns to create a unique look.
Step One: Take your henna paste and apply it to your palm.
Step Two: Create your design by using the paste to create shapes and patterns on the skin. When you’re finished creating your design, put a plastic bag over it to seal in the color for 1-2 hours.
Step Three: Uncover your design once it has dried for at least one hour. Remove the excess henna from around your hand or foot with a damp cloth by wiping away from the henna design.
Step Four: Add another layer of fresh henna over the design if desired, or apply other natural dyes like indigo or coffee beans to create other designs. Let mixture dry before removing plastic bag.
A custom dragon design

To create this design, start by painting your desired area with the henna paste. Once it has a chance to dry a little, you can use a toothpick or a kajal pen to draw the top of the dragon. After that, just go back and fill in the design with more henna paste, adding more detail as you go along.
A perfect opportunity for creativity is coming up soon: Valentine’s Day! And what better way to show your love than with a handmade card? In this post, we’ll teach you how to make five different types of cards from scratch using materials from around your house.
1) Folded card
2) Box card
3) Pop-up card
4) Matching envelope card
5) Card wreath.
Flower pattern
It’s time to get creative! If you’re looking for a simple design, this is perfect for you.
- Start by drawing out a basic flower pattern on your hand with the henna paste.
- Draw five petals to create the perfect flower.
- Fill in each petal with a different color of henna paste and wait until it dries (about 10 minutes).
- Repeat with the other hand and feet and you’re all done!
Starry night sky.
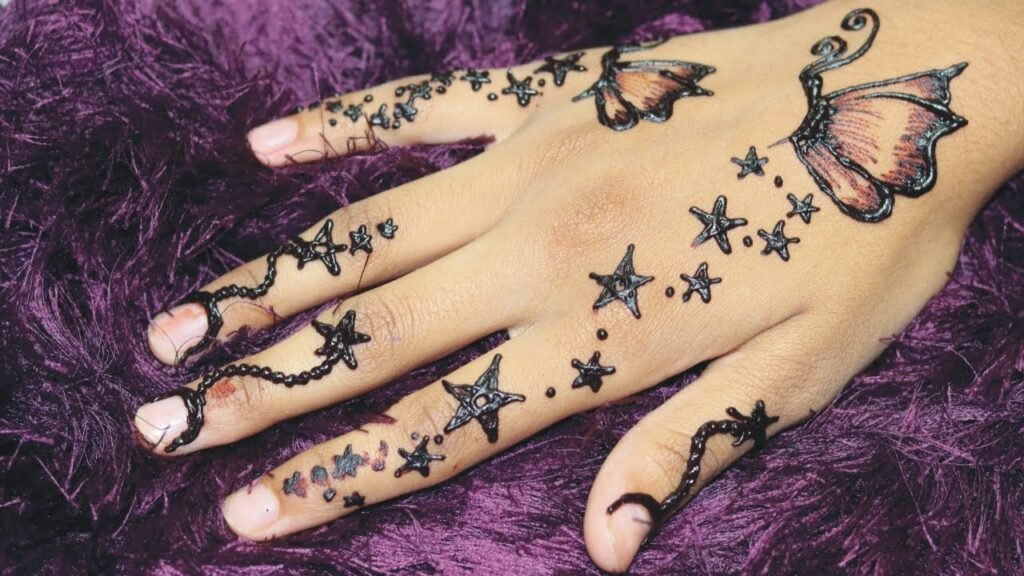
This design is perfect for anyone looking to create a celestial-themed mehndi. It looks especially beautiful on hands, but can also be applied to the feet.
1) Start by applying henna paste to your skin. For this design you’ll want to use more of the henna than you would for other designs.
2) Add some glitter (optional).
3) Mix some black and dark blue henna paste together and apply it with a brush like you would with watercolors. Make sure that the color is very thick but not too thick.
4) After that, start outlining stars on your hand or foot with the black dye. The more dots you make, the better! If you want, add some white dots as well using another brush like watercolor paint.
5) Next outline the starry sky with indigo or dark blue henna paste, making sure to make them thick enough so they don’t run off when they dry out.
6) Finally, wait for your mehndi design to dry before adding a sealant or Vaseline so it doesn’t smear or smudge all over before it’s dry!